Setup an MCP Server
Connect Model Context Protocol servers to extend your AI copilot's capabilities.
MCP (Model Context Protocol) servers connect Copilot to external APIs, tools, and data sources, giving it abilities beyond the built-in features.
MCP server settings live on the Copilot settings page. Open the command palette (⌘K / Ctrl+K) and search for Copilot settings to get there. Only admins and owners can access it.
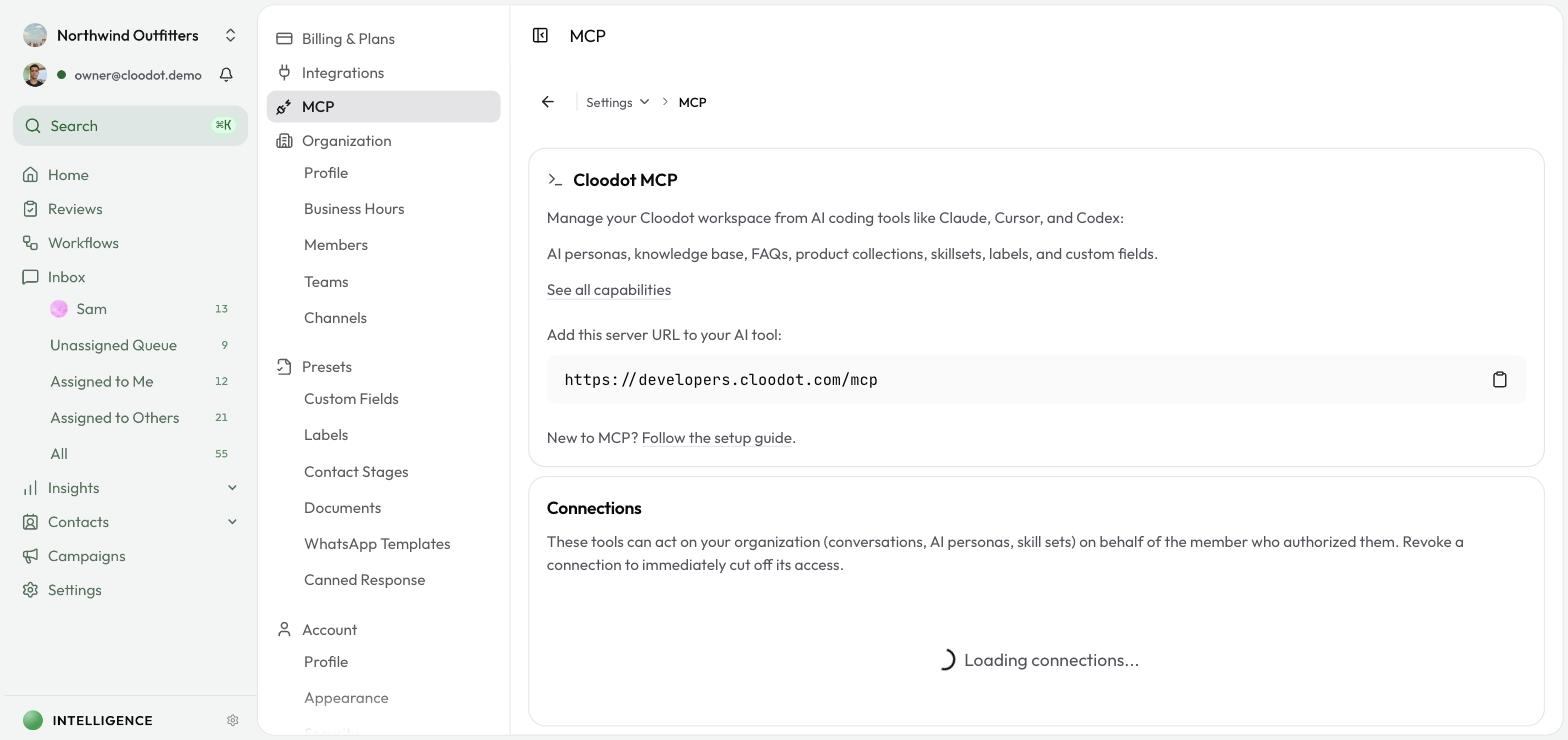
One-click MCP integrations
The cards at the top connect popular tools with zero configuration:
- Shopify — pull orders, products, and customers into Copilot conversations
- Meta Ads — manage ad campaigns, pull reporting, and check signal health
Click Connect and follow the prompts. Once connected, Copilot starts using the integration's tools automatically.
Add your own server
For tools without a one-click integration:
- Click Add Server.
- Fill in:
- Name — a label to identify the server
- URL — the server's endpoint
- Description (optional) — what the server provides
- Authentication — None, Bearer Token, OAuth, or Custom Header
- Transport — Auto, SSE, or Streamable HTTP
- Auth Token — your credential (shown only when the auth method needs one)
- Enable Server — toggle on to activate
- Save.
Manage servers
Servers appear in a table with name and description, URL, authentication type, and status. From there you can:
- Toggle on or off with the status switch
- Edit with the pencil icon
- Delete with the trash icon (and confirm)
Note — Disabling or deleting a server may break AI features that depend on it.
Operate MCP servers safely
- Secure credentials — keep tokens protected and rotate them regularly.
- Test before relying on it — confirm a new server works before depending on it.
- Disable what you don't use — turn off servers you no longer need.